Introduction
In the fast-evolving world of software development, keeping up with contemporary tools as well as technologies is crucial. Git, a powerful version control system, is no exception. Regular updates ensure you have access to new attributes, bug fixes, and enhanced performance. In this guide, we’ll walk you through the simple steps to upgrade Git on Windows, ensuring you’re equipped with the latest and greatest.
How to Upgrade Git on Windows?
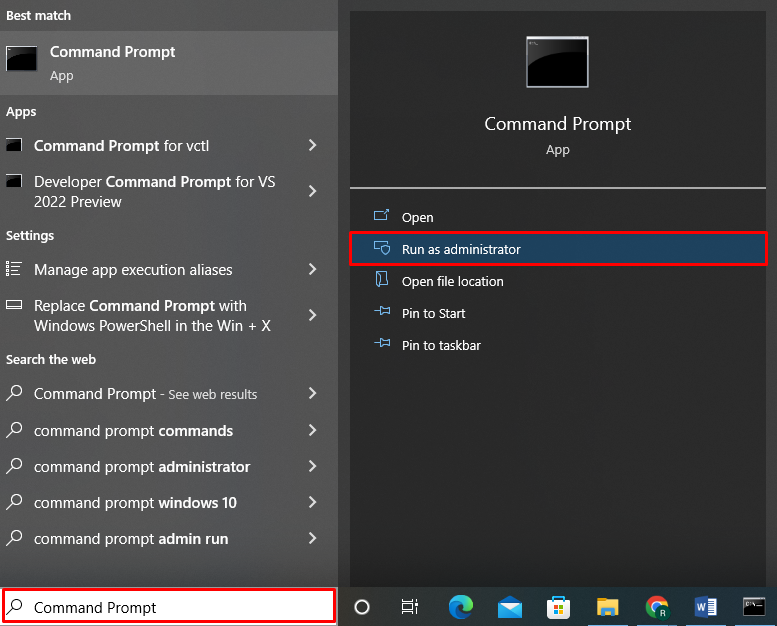
Step 1: Open Command Prompt
Before diving into the upgrade process, ensure you have administrative privileges. Right-click on the Command Prompt and choose “Run as administrator” to avoid any permission issues. Administrative privileges are necessary for the smooth execution of the upgrade process, ensuring that the system has the required permissions to modify the existing Git installation.
Step 2: Update Git
In the Command Prompt, type the following command and press Enter:
git update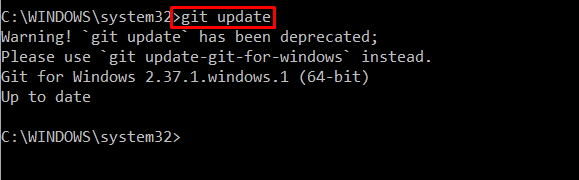
This command serves as the gateway to the latest and greatest features of Git. Executing it prompts Git to fetch and install the most recent version available. This update process is vital for staying current with bug fixes, protected patches, and performance modifications. Be patient as the system communicates with the Git servers and retrieves the necessary updates. The duration can range based on your internet connection speed as well as the update size.
Once completed, you’ll receive a confirmation that Git has been successfully upgraded on your Windows system. It’s that simple! Now you can take advantage of the latest functionalities and improvements that the Git development community has worked on.
Diving Deeper into the Upgrade Process: Understanding Git Updates
Git updates are a crucial aspect of maintaining a robust version control system. These updates incorporate an array of enhancements, incorporating new features, enhanced security measures, and bug fixes that contribute to a more seamless development experience.
The command git update is designed to streamline this process for Windows users. It automates the retrieval and installation of the latest Git version, sparing you from the intricacies of manual updates. This user-friendly approach aligns with Git’s commitment to accessibility as well as ease of usage.
Moreover, regular updates ensure that your Git installation is in sync with the broader Git ecosystem. This synchronization is vital for compatibility with third-party tools, integrations, and services that rely on Git as their backbone. By keeping your Git version up to date, you position yourself to leverage the full spectrum of capabilities that the Git community continually refines.
Troubleshooting Git Updates on Windows
While the git update command generally runs smoothly, occasional hiccups may occur. If you encounter any issues during the update process, here are a few troubleshooting steps to consider:
Check Internet Connection: A stable internet connection is crucial for fetching the latest updates. Assure that your web connection is active and has sufficient bandwidth.
Firewall Settings: Firewalls can interfere with the update process. Verify that your firewall settings allow Git to connect to the servers and download the updates. Adding an exception for Git in your firewall settings helps solve connectivity problems.
Proxy Configuration: In case you are behind the network of corporate, proxy configurations may be necessary. Check your proxy settings to ensure that Git can communicate with the servers without hindrance.
Anti-virus Software: A few anti-virus programs can perceive the update process as a potential threat. Disabling your anti-virus software temporarily for the duration of the update and re-enabling it afterward can resolve such conflicts.
By addressing these common troubleshooting areas, you can ensure a smoother update experience and keep your Git installation up to date.
How to Install Git Latest Version on Windows?
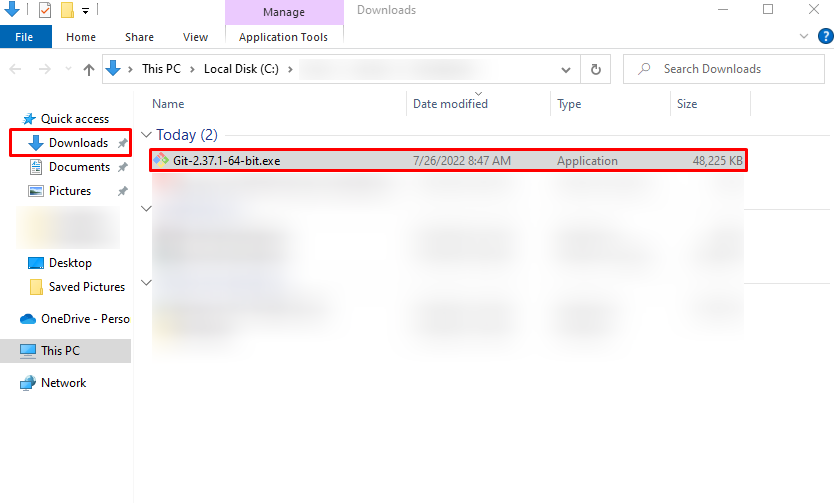
Step 1: Download git Setup File
To embark on the journey of installing the latest version of Git on Windows, the initial step involves visiting the official Git website. Navigate to the downloads section (add hyperlink) tailored specifically for Windows users. Here, you’ll encounter a variety of options catering to different versions and architectures. Choose the Windows version that aligns with your system specifications and proceed to download the latest Git setup file.
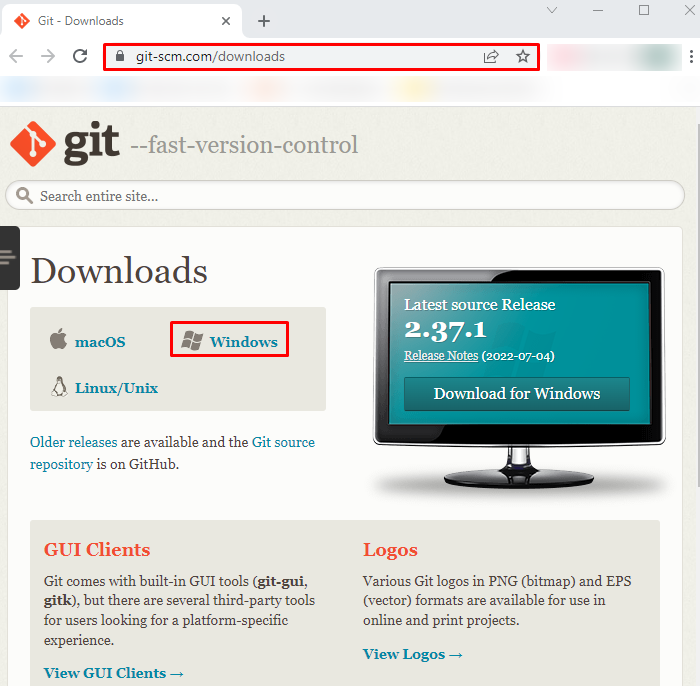
The Git setup file is your gateway to the world of version control, offering not only the core Git functionalities but also the latest enhancements and optimizations crafted by the Git development community.

Step 2: Execute git Setup File
As soon as the download is complete, situate the downloaded setup file on your system. Typically, the file is named something like Git-2.x.x-x64.exe, where x.x displays the version number. With the setup file in hand, double-click on it to begin the procedure of installation.
Windows User Account Control (UAC) may prompt you to confirm the action. Acknowledge and click “Yes” to give the required permissions for the installation to move ahead. This action ensures that the installation process can make the needed changes to your system.
Step 3: Install git
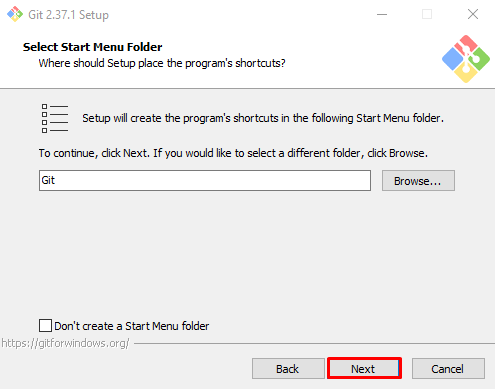
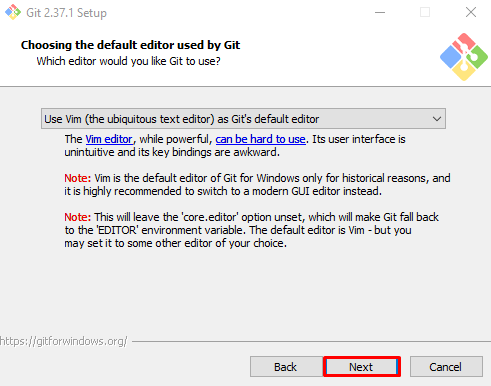
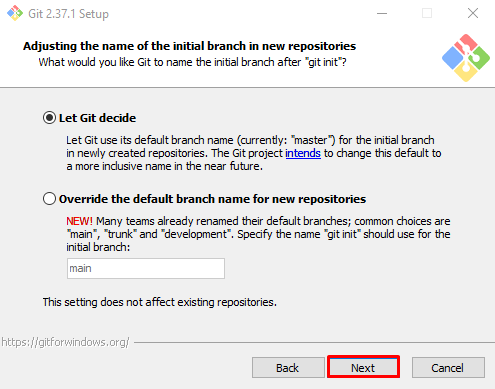
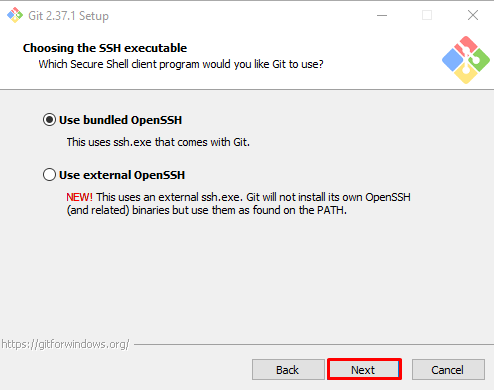
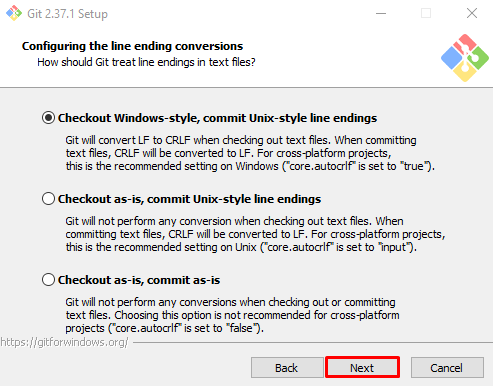
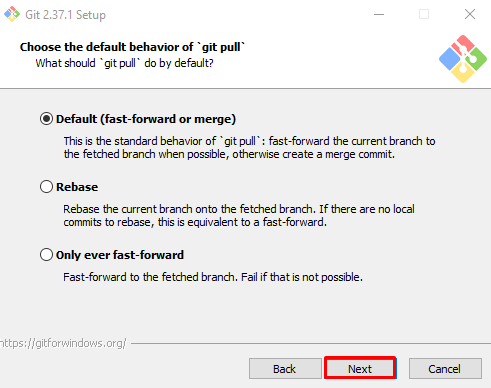
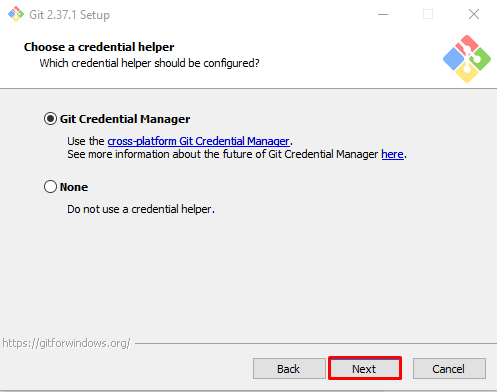
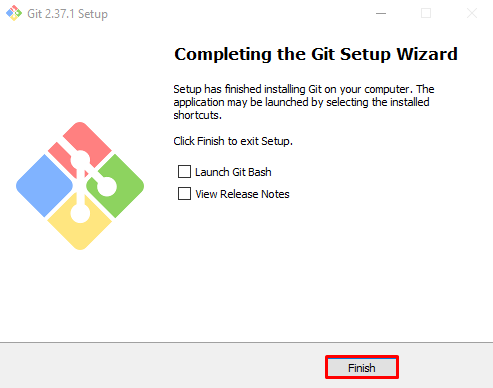
With the execution of the setup file, the installation wizard takes center stage. The wizard presents you with various configuration options tailored to your preferences. While these options allow for customization, the default settings are designed to suit the needs of the majority of users.
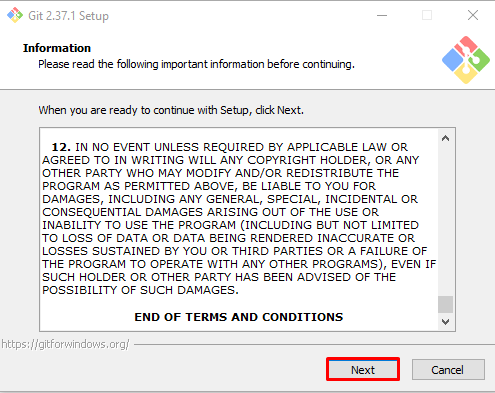
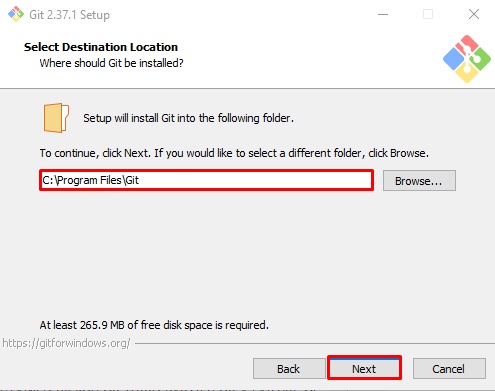
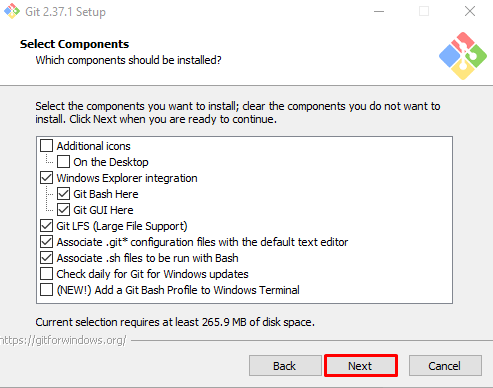
As you go ahead via the setup wizard, click “Next” to advance. This action will take you through options such as choosing the installation directory, selecting components to install, and configuring the preferred text editor for Git. Unless you have particular necessities, the default settings are generally sufficient.
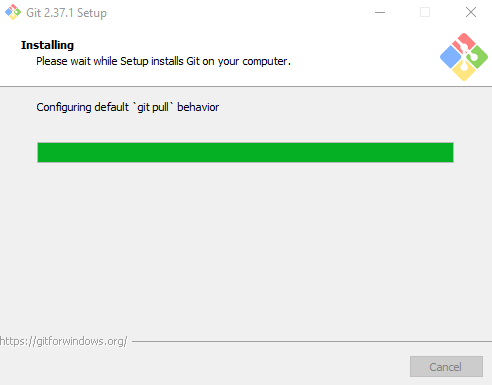
Clicking “Next” through the wizard finalizes your choices and initiates the installation process. This step may take a few moments as the setup installs the Git components on your Windows system.

Step 4: Verify git Installation
Completion of the installation warrants a quick verification to ensure a successful installation. Open a new Command Prompt window – a blank canvas where you’ll interact with Git through commands. Within the Command Prompt, type the given below command:
git --version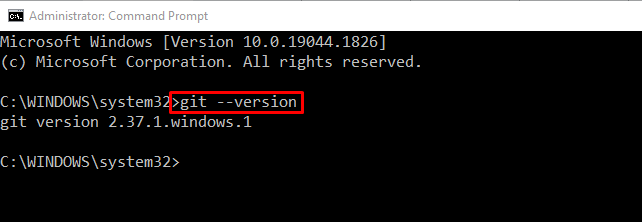
Press Enter to execute the command. The result should be a display showcasing the latest version of Git that you’ve just installed. This confirmation not only affirms the successful installation but also marks the commencement of your upgraded Git experience.
By following these four steps, you’ve seamlessly installed the latest version of Git on your Windows system. This proactive approach to keeping Git current ensures you’re well-positioned to leverage the latest features and optimizations in your development workflows.
The Significance of Installing the Latest Git Version
Installing the latest version of Git isn’t merely a procedural task; it’s an investment in the evolution of your development toolkit. Each Git update brings forth a host of new features, performance enhancements, and bug fixes that collectively contribute to a more robust version control system.
New features introduced in updated Git versions cater to the advancing necessities of developers. These might include improved collaboration tools, streamlined workflows, or enhanced security measures. Staying current with these updates ensures you’re not only benefiting from the advancements but also contributing to the vitality of the Git community by actively participating in its latest developments.
Performance enhancements are another key aspect of Git updates. As projects grow in complexity, optimized performance becomes crucial for maintaining productivity. The Git development community continually refines algorithms and processes to ensure that version control operations are swift and efficient, regardless of project size.
Bug fixes address issues and vulnerabilities identified in earlier versions. Regularly updating Git ensures that you’re working with a stable and secure version control system. This proactive stance in resolving potential issues contributes to the overall reliability of Git in your development environment.
Troubleshooting Post-Installation: Ensuring a Seamless Experience
While the installation process is designed to be straightforward, occasional challenges may arise. Here are a few troubleshooting tips to address common post-installation issues:
Environment Variables: Ensure that the Git installation directory is added to the system’s PATH environment variable. This step is crucial for allowing Git commands to be executed from any command prompt window.
Restarting Applications: If you’ve had other applications or IDEs open during the installation, restart them to ensure they recognize the newly installed Git version.
Updating System Path: If you encounter issues with Git commands not being recognized, manually updating the system PATH variable or restarting the Command Prompt may resolve the problem.
Checking Anti-virus Software: Some anti-virus programs may interrupt Git operations. If you experience unexpected errors, consider temporarily disabling the anti-virus of your software and verifying in case the problem exists.
By addressing these potential challenges, you ensure a smooth and uninterrupted experience with the latest Git version on your Windows system.
Also Read: How to Install Maven on Windows
Conclusion
Congratulations! You’ve successfully learned how to upgrade Git on Windows and install the latest version. Regularly updating Git ensures you benefit from the latest features and improvements, contributing to a seamless and efficient development experience. Stay ahead in your coding journey by keeping your tools up-to-date. Happy coding!