Introduction
A high-level language is a significant requirement behind building software and applications. Computers only understand machine language, which is a low-binary language. We can’t develop software and applications through machine language. This is where high-level languages like Java come into the picture.
You may question how a computer understands a high-level language. Well, compilers do the work of translating high-level languages to low-level languages. To use Java, you need to first install it on your operating system. A good thing about Java is that it is highly compatible.
You will discover easy steps to install Java on Ubuntu, which is an open-source operating system. Also, we have included content related to installing a specific version of Java and its uninstallation. Let’s start the reading process by reviewing Java versions quickly.
Java Versions
Have you ever visited a gym? If yes, then you can easily relate the Java platform to a gym. A gym is a place to maintain your fitness packed with an instructor and all the equipment. Similarly, a Java platform is a place where you can get all the equipment to build your application and software. To clearly understand this platform, we must go through all three divisions.
JVM (Java Virtual Machine)
It is like a machine that reads the bytecode and executes it. It helps in the proper execution of instructions in machine language.
JDK (Java Development Kit)
Just like you have equipment at the gym, a JDK is a toolbox. JDK consists of all the tools you require to develop an application or software.
JSL (Java Standard Library)
This library consists of various pre-written codes, which are helpful for developers. Imagine not having to write specific codes from scratch and simply use the code blocks to develop your application.
Installing Java on Ubuntu
We will now follow the below steps to install Java on Ubuntu. The most basic thing you have to do before starting the installation is to update your package list. Just press Ctrl+Alt+T and open the terminal window to run the command ‘sudo apt update.’ Your package list is updated, and now we will move forward to the first step.
Install JDK
The default package repository of Ubuntu is OpenJDK, which is an open-source platform to run Java. You can use the below command to install JRE (Java Runtime Environment), which is primarily made for users who want to run Java applications.
sudo apt install default-jre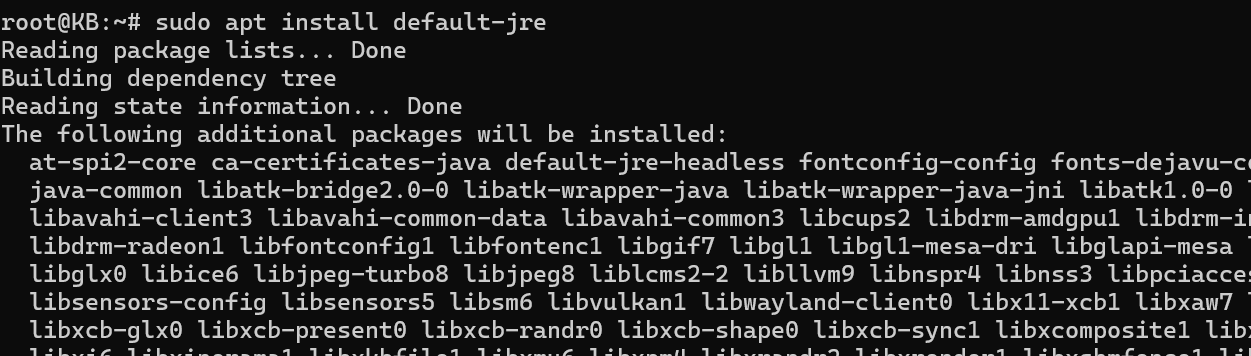
Developers need JDK (Java Development Kit), a whole toolbox for developing software and application. Run the below command to install JDK.
sudo apt install default-jdk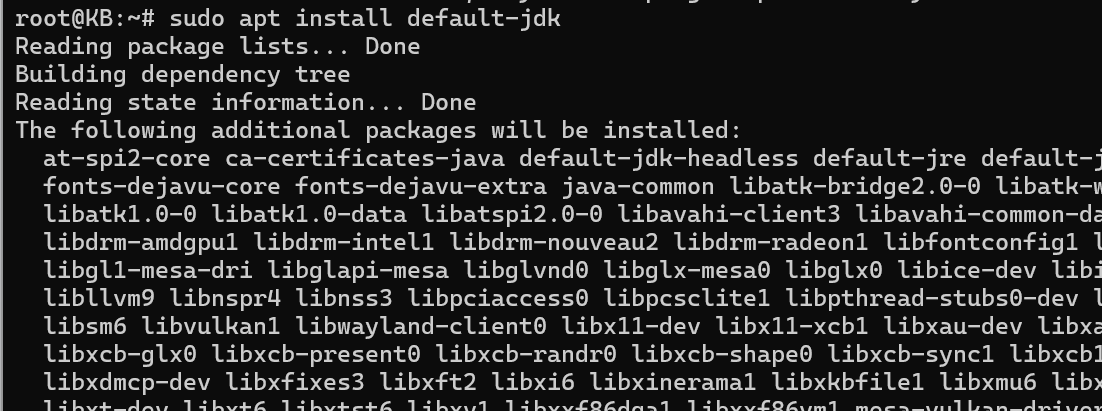
Install Oracle Java 11
If you want to install the official Oracle JDK for Java, it’s essential to know that you can’t use package managers for automatic installation due to their licensing agreement. You’ll have to make an Oracle account and download the JDK manually. Then, add a new package repository for the desired version and use apt to install it with the help of a third-party installation script. Remember that the Oracle JDK includes the JRE, so you don’t have to install it separately.
Download Oracle Java from Linux Uprising PPA
In the terminal window, write the below command to add the Linux Uprising PPA.
sudo add-apt-repository ppa:linuxuprising/java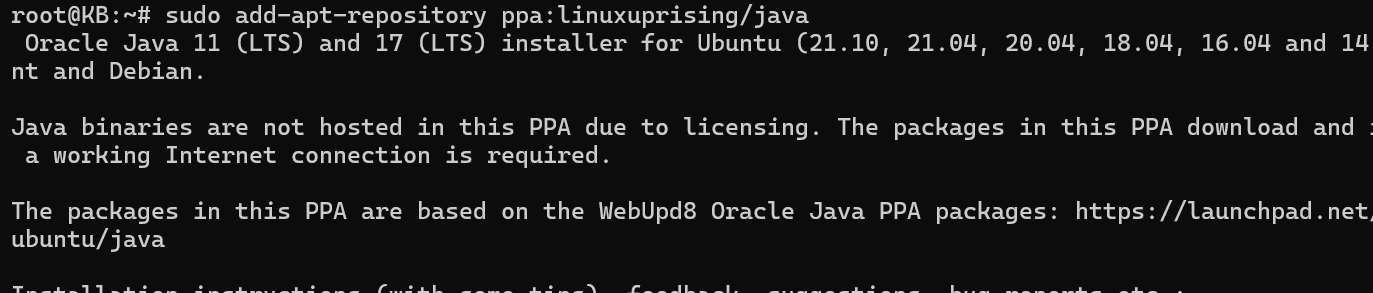
After you enter the above command, the terminal will prompt you to enter your password. Now you need to update the package list to make the package manager aware of the new repository. You can update it with the following command.
sudo apt updateWhen the package list is updated properly, you are ready to install your chosen Oracle Java version on Ubuntu. You can use the following command.
sudo apt install oracle-java11-installerIn the above command, we have used Java 11; you can replace it with the choice of your version. At last, if you want to verify the installation of your version, you can use the below command.
'java -version.'
How to Set Default Java Version?
If you use Ubuntu and have multiple Java versions installed, there is a simple way to designate which one to use as the default. You can make use of the update-alternatives command that allows you to set Java 11 as the primary version. Simply execute the following command to make the change.
sudo update-alternatives --config java
After this, all you need to do is select the version.
How to Set JAVA_HOME Environment Variable
The Java_home environment variable is majorly used for setting the location of the Java installation on Ubuntu. You may wonder what the importance of the location here is. Well, many applications and tools require the correct location of Java installation. Now let’s check the process of setting the Java_home environment variable.
- Locate Java on your system with this command.
sudo update-alternatives --config Java
- After you enter this command, a list of Java versions will appear; simply copy the preferred one.
- Now open the file ‘nano /etc/environment’ with a nano text editor by running this command.
nano /etc/environment
- Now you need to add a line in the opened file in the below manner.
JAVA_HOME="/your/installation/path/"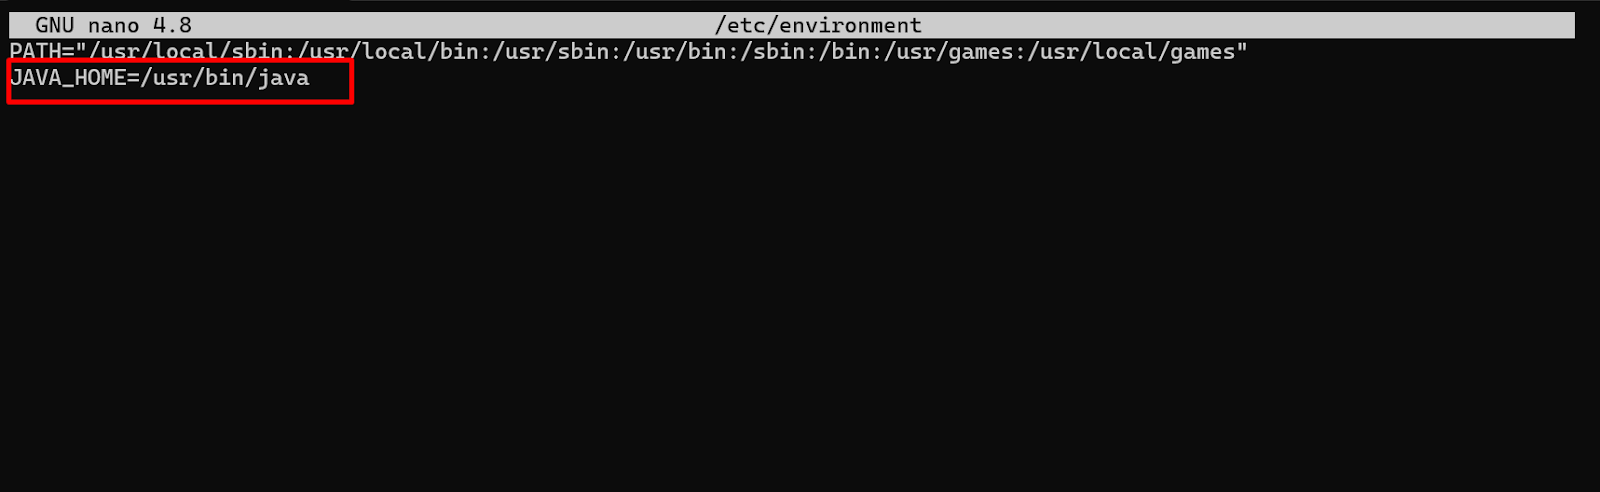
- You have properly mentioned the location of your Java_home environment. That’s it; you have successfully set the location.
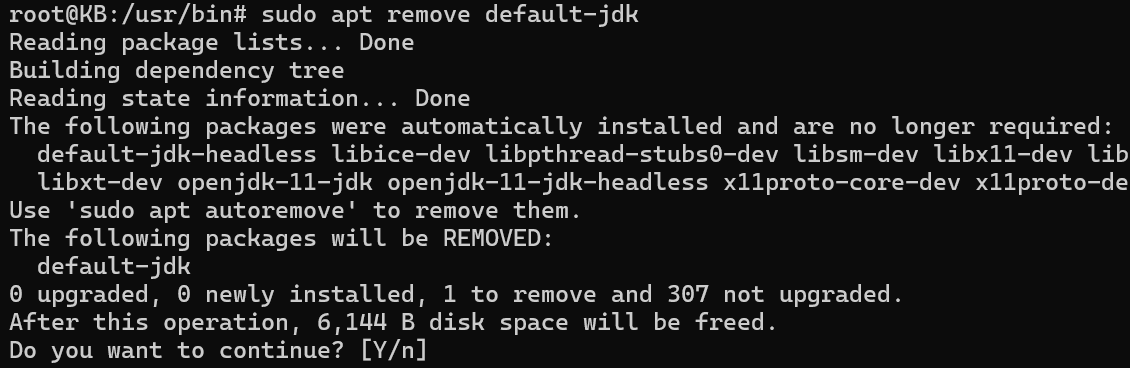
How to Uninstall Java on Ubuntu?
Till now you have learned the process to install Java on Ubuntu, now let’s learn how to uninstall. This process starts with the removal of the default version of OpenJDK, for which you have to run the below command “sudo apt remove default-jdk.”
If there is a need to uninstall a specific version of OpenJDK then simply enter the command “sudo apt remove openjdk-#-jdk.”
Here, you need to keep in mind that the “#” icon will be replaced with the correct version. At the end, simply press the “y” key to continue the removal process.
Also Read: What is a Server Operating System? Types of Server OS
Conclusion
Installing Java on Ubuntu involves either using the default OpenJDK from the package repository or opting for the official Oracle JDK. By following the provided steps, users can easily set up their preferred Java environment, whether it’s for running Java applications or developing software.
Additionally, configuring the default Java version and setting the JAVA_HOME environment variable ensures seamless compatibility and execution across various applications and tools. Lastly, the process of uninstalling Java from Ubuntu, whether it’s the default version or a specific one, is straightforward, allowing users to manage their Java installations efficiently based on their needs.